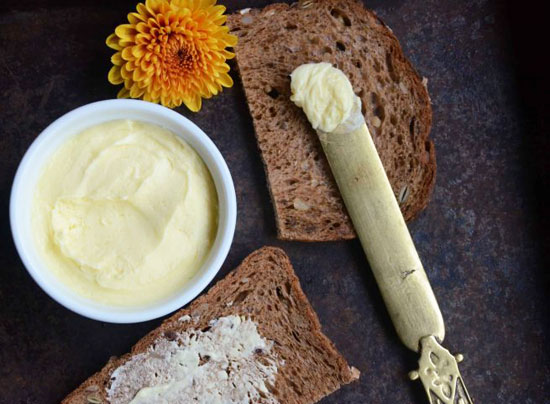
Three methods to make butter at home

How to make butter is a skill that everyone should learn. The process is superbly easy and the output – a velvety rich butter – is rewarding enough to motivate you to get started.
Why should you make butter at your own home? It’s as easy as hitting “on” on your blender. As long as you use a good, heavy cream, your butter will taste better than the industrially-produced ones. It’s way fresher than its store counterpart. It’s devoid of any artificial preservatives or colors, as long as the cream you use is fresh as well.
It can be personalized. The flavor of the butter can vary depending on the type of cream and the type of spices you use. The possibilities of producing an innovative flavor are endless!
You don’t even need to be overwhelmed with the whole process. Because it’s relatively simple and easy to make, probably you will include butter-making in your weekly cooking routines! Are you ready? Let’s get started learning about how to make butter.
The Shaking Method
Things you’ll need:
– Cream (in room temperature)
– Tight-fitting container
– Filtering cloth like cheesecloth, paper coffee filters or medical gauze
– Ice-cold water
– Wooden spatulas.
Things you’ll do:
Check your container meticulously. You don’t want bits of cream to mess up your whole kitchen just because your lid is loose, right?
Put the room temperature cream in the tight-fitting container. Make sure that the container can hold at least twice the volume of the amount of cream you’re placing.
Shake the container up and down repeatedly for 3 minutes.
After 3 minutes, you’d notice that the cream begins to feel heavier. Keep on going.
After 3 minutes again, the cream will feel like a hard solid substance. You are to continue shaking until you feel the butter separating from the buttermilk. The sloshing sound is an indication of this.
After hearing the sloshing sound, keep shaking for about 3 minutes once again.
Cover the top of the jar with your filtering cloth and pour off the buttermilk.
Fill your container with ice-cold water up until the top of the butter.
Replace your earlier filtering cloth with a new one. Drain the container by pouring water out into the sink. Repeat until the water drains become clear.
Also, drain the water under the butter by squeezing the butter with a wooden spatula.
Use paper towels to absorb the drainage.
Add salt as desired. Refrigerate your freshly made butter.
The Whipping Method
Things you’ll need:
– Cream, preferably heavy
– Chilled stainless steel bowl
– Two wooden spatulas
Things you’ll do:
Pour your room temperature cream into your chilled bowl.
Whip your cream until the cream looks dry enough.
After viewing this, continue whipping until you see the separation of the butter and the buttermilk from each other.
To prevent your butter from being spoiled quickly, put it in the blender and blend it together with ice-cold water.
Blend in low speed for a minute.
After a while, drain the water out of the blender by squeezing it between two wooden spatulas.
Continue draining the butter until the water drainage becomes clear enough.
Add salt as desired.
Refrigerate.
The Blending Method
Things you’ll need:
– Whole cream
– Blender, mixer or food processor
– Ice-cold water
– Wooden spatulas
Things you’ll do:
Put your cream into your blender, mixer or food processor and whip into high speed.
Keep going until milk fat & solid substances (butter) separates from the liquid (buttermilk). You’ll hear the sloshing sound as the indication of this.
Drain the buttermilk away from the butter by running it under ice-cold water and squeezing it between two wooden spoons or spatula. Some people even prefer using their own hands for the squeezing part.
Squeeze as tight as possible – if there’s buttermilk left in your butter, your butter will get rancid quickly.
Rinse it well with ice-cold water.
Pack your butter into an air-tight container.
Add salt as desired.
Refrigerate accordingly.
So, there you have it! How to make butter is a process that’s simple, cost-effective and entertaining.
yogaesoteric
November 26, 2018
Also available in:
 Français
